Schoology Parent Account Creation
Please note: these instructions are for parents only. Students will access Schoology using a different address. Please see this page for more information.
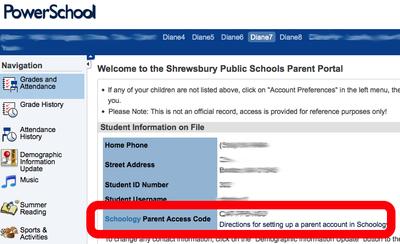
1. Go to the PowerSchool Parent Portal and make note of your child's Schoology Parent Access Code.
2. Direct your favorite browser to Schoology.com.
3. Click "Register or Log In"

4. Click "Register for Schoology Learning"

5. Choose the small gray box labeled "Parent."

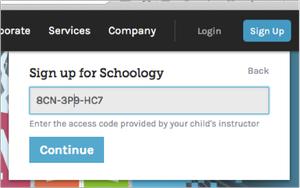
6. In the box that pops up, enter your child's Schoology Access Code from Step 1 above.
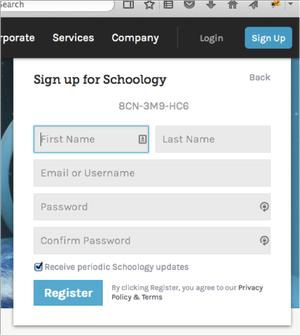
7. Enter your name and email address. Choose and confirm a password. Click "Register."
8. You will be taken to the Schoology homepage. Your child's account is selected by default.

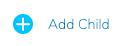
9. (Optional) To add an additional child to your account, click the "+ Add Child" button option in that menu and enter the Schoology Access Code for that child.
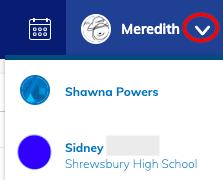
10. If you have added additional children to your account, toggle between the children by clicking the arrow next to your child's name and choosing the other child:
11. Go here for instructions on setting up email notifications.
12. Go here for instructions on viewing your child's Schoology activity, including their upcoming homework assignments.
This site provides information using PDF, visit this link to download the Adobe Acrobat Reader DC software.